Peanut Butter

Peanut butter isn’t, on it’s own, a food group, but some weeks it seems like my diet treats it as such. It’s simple, it’s versatile, and it pairs very nicely with chocolate (bonus!). Over the last year or so I’ve bought exclusively “natural” peanut butter, typically the store brand jars that contain only peanuts and salt. After eating that for a while, “regular” peanut butter more closely resembles frosting than the spread I now put on apples & sandwiches.

But only peanuts & salt? Surely it couldn’t be too difficult to recreate. After all, some grocery stores have a fresh ground serve-yourself option. So this weekend I went for it and, lo and behold, it was super easy after all.

Now there are so many possibilities: toss in some chocolate,  maybe some hazelnuts. Sometime soon I’ll try making sunbutter (a peanut butter alternative made from sunflower seeds) as well.

I have a Magic Bullet, which worked wonders. Toss everything in & let it run for a minute or two. As the peanuts grind they first resemble a paste, but give it a bit longer and the oils begin to come out. Next thing ya know and you’ve got super fresh PB.

wp-1488344452237.jpg

Fresh-Ground Peanut Butter
Makes ~ 1 cup

Ingredients

  • 2 cups roasted peanuts, shelled
  • 1 tsp salt

Directions

  1. Place peanuts and salt into processing device of choice*. If crunch peanut butter is desired, set aside 1/4 cup of peanuts before processing.
  2. Run for ~2 minutes, pausing to scrape the sides of the container to ensure uniform grinding.
  3. Crunchy Option: Crush the remaining 1/4 cup of peanuts with a rolling pin and combine with peanut butter
  4. Spread on EVERYTHING. This can be stored in an airtight container in the pantry, refrigeration isn’t necessary.

*As stated in the description, I have a Magic Bullet and it worked incredibly well. I haven’t tried this in a blender for food processor, but imagine it would work in a similar fashion, possibly requiring a few more pauses to scrape the sides of the container & make sure everything is evenly distributed.

Homemade Greek Yogurt

If I’m being honest, yogurt has historically weirded me out a bit. Among other things, this is likely attributed to a wariness of dairy prompted by a babysitting experience in middle school during which I unknowingly opened a sippy cup of curdled milk sitting out. However, I stand by the rule that you “can’t knock it til you try it, and try it again” when it comes to new foods and have come to enjoy plain greek yogurt mixed with a little fruit. The great thing about plain yogurt is you can add whatever you want to it and not have to accept the loads of sugar packed into pre-flavored varieties. If you truly consider yourself a purist, you can take this a step further and just straight up make yogurt from scratch. Not only can you control the sugar content, but you also have the final say in the source of milk.

For those who are specifically in to greek yogurt, you make your own by simply straining regular, off-the-shelf plain yogurt. However, if you’re feeling adventurous and have some time on your hands, you can make your own yogurt with little more than a jug of milk as outlined here.

I’ve done this twice now – once with whole milk and once with lowfat. As might be expected, the whole milk makes a creamier, richer yogurt, but both kinds work perfectly fine for the process. Shoutout to my roommate, Hannah, for being totally cool with me setting a slow cooker wrapped in a towel out on our counter overnight & later occupying a fair amount of counter space with bowls of straining yogurt. She’s the real MVP.

The yield is dependent on how thick you like your yogurt. Greek yogurt is thicker than regular yogurt because it has more whey liquid strained out of it. This “more concentrated” yogurt explains the higher protein content of greek vs. regular yogurt. The thicker the yogurt is made, the less it will yield, but conservatively estimate half of the milk volume initially put in (ie. 1 gallon yields 8 cups yogurt). If you’d like to make more or less yogurt, the recipe is easily scaleable – just adjust the milk & yogurt starter proportions accordingly.

Homemade Greek Yogurt
Makes 8-10 cups

0128172029a_hdr2.jpg.jpg

Ingredients & Materials

  • Slow cooker
  • 1 gallon dairy milk
  • 1 cup plain yogurt with cultures
  • Food-grade thermometer (instant read, meat, candy, etc)
  • Large towel
  • Colander + large bowl + straining material

Directions

  1. Pour milk into the slow cooker, cover, & heat on high until the milk reaches 180°F. This could take anywhere from 2-4 hrs depending on your pot & quantity of milk. (It took 2 when I used a half-gallon, but closer to 3.5 with a full gallon the second time around). This temperature is apparently the threshold required for the milk to properly thicken.
  2.  Turn the slow cooker off and wait for the milk to cool to 110°F. Again, this could take another 2-4 hours.
  3. Once the milk has cooled, remove approximately 1 cup and combine with the plain yogurt. Stir carefully (not vigorously) until thoroughly mixed. Add back to the slow cooker and once again stir carefully (strokes instead of circles) until well combined.
  4. Replace cover & wrap the slow cooker in a towel and let stand for 10-12 hours. This is when the magic happens. You could go to bed with a swaddled slow cooker of warm milk sitting on your counter and wake up to a swaddled slow cooker of yogurt – how about that?
  5. Strain the yogurt by placing a colander over a bowl and lining with straining material. I’ve used both coffee filters & paper towels, though I think a nut bag or fine mesh strainer would probably be ideal. Fill with the thin yogurt mixture and let stand until it reaches near your desired consistency. I found that, once refrigerated, the yogurt thickens a bit more, so don’t worry if it’s not quite as thick as you’d like it when standing. Again, this is another 2-4 hour process depending on your consistency preference.
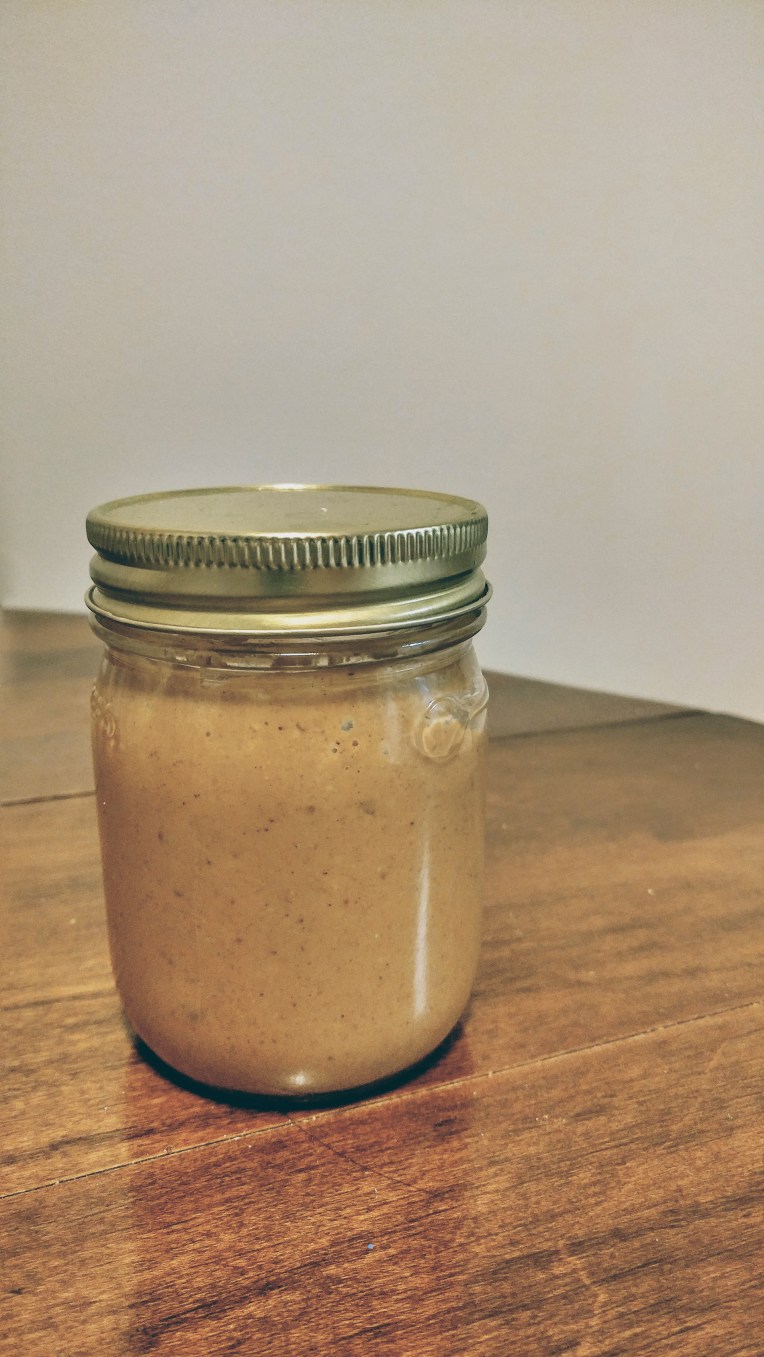
  6. Scoop out & store your yogurt. I imagine it would keep for a few weeks in the fridge, though mine absolutely will not last that long seeing that I’ll eat it first. Be sure to save some to use for the cultures in your next batch of yogurt, kind of like Amish friendship bread I suppose. I’ve set some aside in a separate container so I don’t forget and eat it all…

So yes, it takes a little while, but requires little effort. If you start around 4 pm, you should have fresh, homemade yogurt by lunchtime the following day.

Notes

Slow Cooker: A fantastic, common thrift store find. I have a 6 qt. Crock-Pot that I got from the repackaged clearance endcap at Target a while back, but have seen them frequently at secondhand shops. If you find one with a tacky, outdated pattern on the outside, consider repainting with chalkboard paint – it’s great for potlucks!

Straining Material: There are a lot of options here. Since part of my goal for the year is to not buy anything new, I’ve been testing out materials I have around my apartment. Coffee filters were sturdier than the paper towels – I was afraid I would tear the paper towel when scooping out the yogurt once it was finished. Ideally, I think a nut bag or other fine mesh strainer would work nicely.

Whey: The question remains: “what should I do with the strained whey from the yogurt?”. To be honest, I haven’t done much but let it sit in my fridge looking like a jar of lemonade, but apparently there are a number of uses. If you’re into smoothies, you can add it there, or use it (to some extent) in soups & baking. Here are 18 ways to use whey that may come in handy.

Continue reading

Ice Cream Bread

Back in October, we lost power for 3 or so days as a result of Hurricane Matthew. Inconvenient for sure, but only mildly problematic as we had access to university resources to shower, charge electronics, use wifi, etc. We kept our perishables in our closed fridge for as long as deemed safe, then were fortunate to be able to transfer them to some real estate in a friend’s chest freezer. Our ice cream had melted a bit (not completely), but didn’t re-freeze to the same creamy, scoopable consistency. That made it a prime candidate for this recipe.

Our local grocery store occasionally has “buy 2, get 3 free” deals (yes, you read that right) on different items, which has the potential to yield an excess of ice cream. I think I’d be a little wary of buying ice cream exclusively for the use of baking – ice cream may make bread better, but I’m not so sure that bread can improve upon ice cream. However, this is a quick, not-too-sweet recipe that is good to have in one’s back pocket.

There are a number of variations of this recipe floating around online already, but figured I’d report what worked for me. I used chocolate cherry bordeaux & mocha almond fudge flavors. To be honest, the mocha almond flavor had a little bit of an almost burned taste, perhaps from the coffee flavor, but the chocolate-cherry was super tasty and the cherry flavor certainly came through. Plus, I’m a sucker for nearly anything chocolate…

If I were to do this again, I’d definitely opt to add chocolate chips for a little something extra.

wp-1485354148166.jpg

Ice Cream Bread
Makes 1 loaf (10 slices)

Ingredients

  • 2 cups ice cream
  • 1 1/4 cups self rising flour*
  • Add ins, as desired (chocolate chips, nuts, sprinkles, etc)

Directions

  1. Preheat the oven to 350ºF. Grease the bottom & sides of a loaf pan.
  2. Combine ice cream and flour, mixing until combined.
  3. Stir in any add ins, if desired, then add batter to loaf pan.
  4. Bake for 35-45 minutes, until a fork comes out clean. I recommend cooling before slicing.

Yep, it’s that easy! If you find you’d like something a bit sweeter or richer, serve slices with ice cream or peanut butter.

As a side note, it was a little tricky to get out of my pan, but I cut around the edges and used a fork to pull up one end, then turned upside down and shook until the bread separated.

*If you don’t have self rising flour on hand, you can make your own by adding 1 1/2 tsp baking powder & 1/2 tsp salt to 1 cup of all purpose flour

Anyone out there have strong opinions about their favorite ice cream flavor?

Sweet Potato Sage Pasta

I imagine many of those who know me would accuse me of having a “science-y” mind, but I think that that lends itself well to cooking; the kitchen truly is part lab, part studio. I love the experimental nature of cooking – some of my proudest cooking moments have come prior to moves, where I need to clean out the fridge and freezer and make do with what I have. Jam and brie cheese pizza is one highlight, apple pie eggrolls are another. It’s great when the product of one of these trials tastes good, but there’s a secondary sense of contentment that comes with diverting or preventing what would otherwise become waste.

After returning from holiday travel I needed to come up with something for dinner, but, in holding to making an effort to shop more at the farmers market, held off on visiting the grocery store. Somehow, inspired by a few teeny-tiny-beginning-to-shrivel sage leaves my roommate left on the top of our counter compost container, I ended up with the surprisingly tasty pasta using things I already had. I’ve adjusted the recipe a little to add a bit more flavor (more sage would have been better, so the recipe reflects that). It’s pretty simple, but thought I’d share.

0104171857_hdr.jpg

Sweet Potato Sage Pasta
Serves 4-6

Ingredients

  • 1 medium to large sweet potato
  • 2 sprigs fresh rosemary
  • 1-2 tbs olive oil (or oil of choice)
  • 1 tsp salt
  • Freshly cracked pepper
  • 1 12 oz. box of tricolor rotini (or pasta of choice)
  • 1 small onion
  • 2 cloves garlic
  • Yellow squash, optional
  • 4-6 fresh sage leaves
  • 4 oz. feta cheese, crumbled

Directions

  1. Preheat the oven to 400ºF. Peel and cut the sweet potato into 1/2″ cubes. Finely chop the rosemary.
  2. In a medium bowl, toss the sweet potato with oil, salt, pepper and rosemary, mixing until the potatoes are evenly coated.
  3. Spread on a baking sheet and bake for 20-30 minutes – until the potatoes are fork-tender
  4. Cook the pasta according to the directions. As the pasta cooks, dice the onion and mince the garlic.
  5. When the pasta is finished, strain and set the pasta aside. It may be helpful to reserve a cup or two of the pasta water to use to keep the pasta from sticking to itself as it sits.
  6. Return the pasta pot to the stove and sauté the onion and garlic 3-5 minutes – until fragrant and the onions begin to get translucent. (If you choose, you can also sauté the yellow squash if you’re looking to add more veggies).
  7.  At this point, the sweet potatoes should be finishing up. Add the pasta back to the pasta pot along with the potatoes. Finely chop the sage leaves and combine. Add the feta just before serving. Add in some more salt, pepper and/or oil to taste.

If you give it a shot, or have other ideas & potential improvements, I’m always open to your thoughts and feedback.